Language
GET A QUOTE

GET A QUOTE
Language
GET A QUOTE
GET A QUOTE


Bed Head Unit 307 Batch Assembly: Two Units in the Workshop
This batch covers the assembly of two Kersai Bed Head Unit 307 units in the workshop. The photographs follow the work in order, from the trunking end caps and the medical gas outlets to the power socket row, the LED light strip and the finished panels.
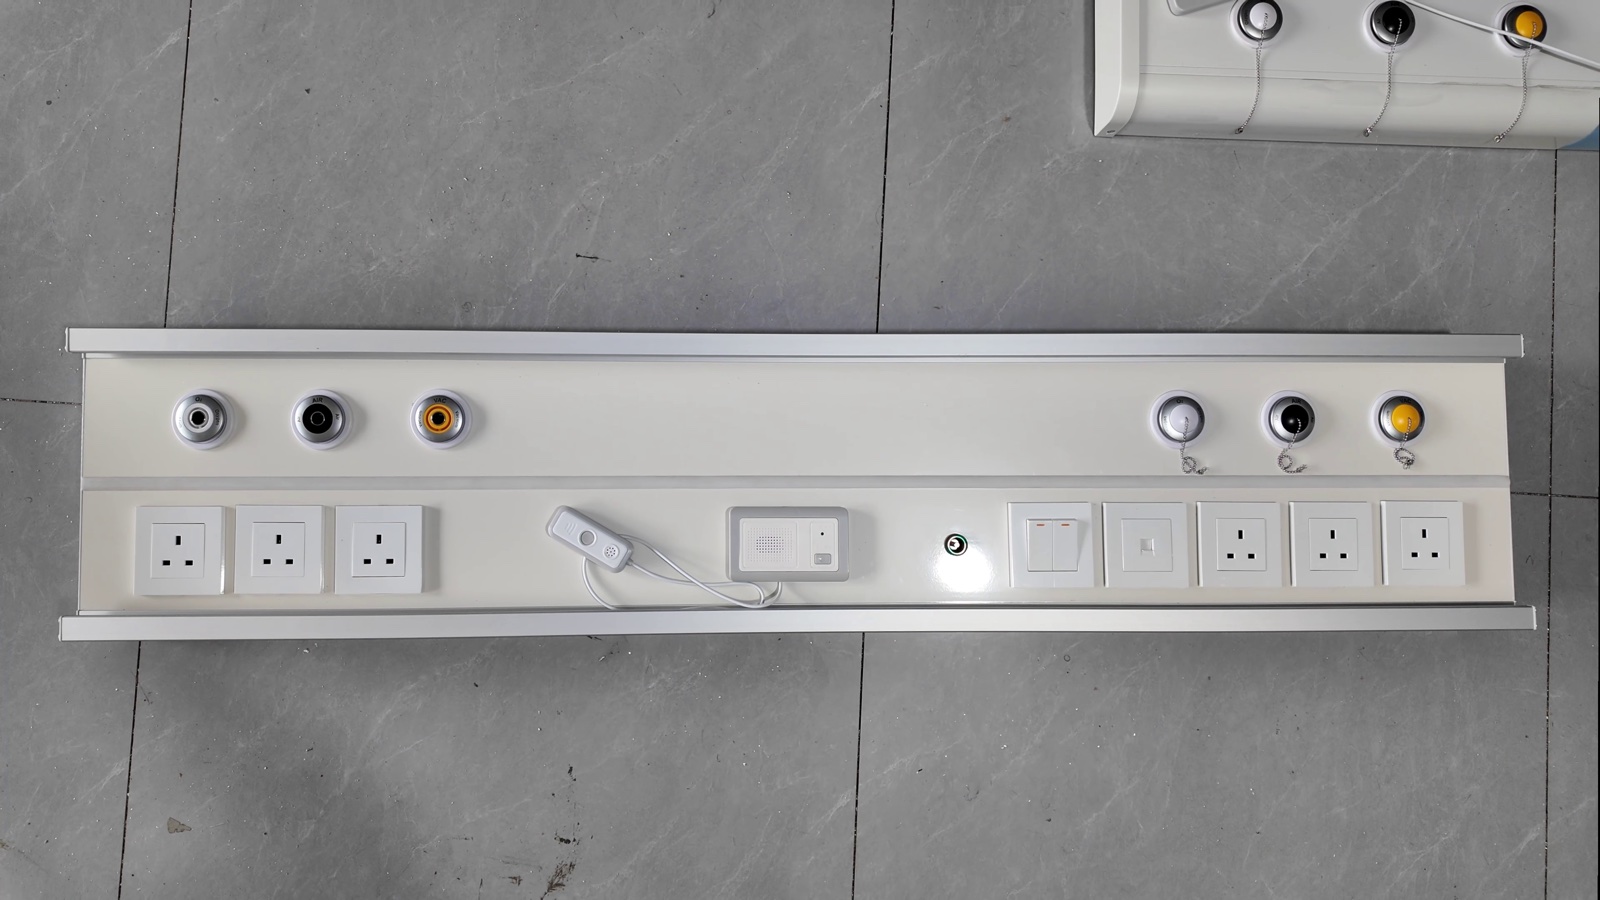
In this configuration each unit carries medical gas outlets along the upper band, a row of power socket modules with a light switch below them, and an LED light strip inside the lighting channel of the housing.
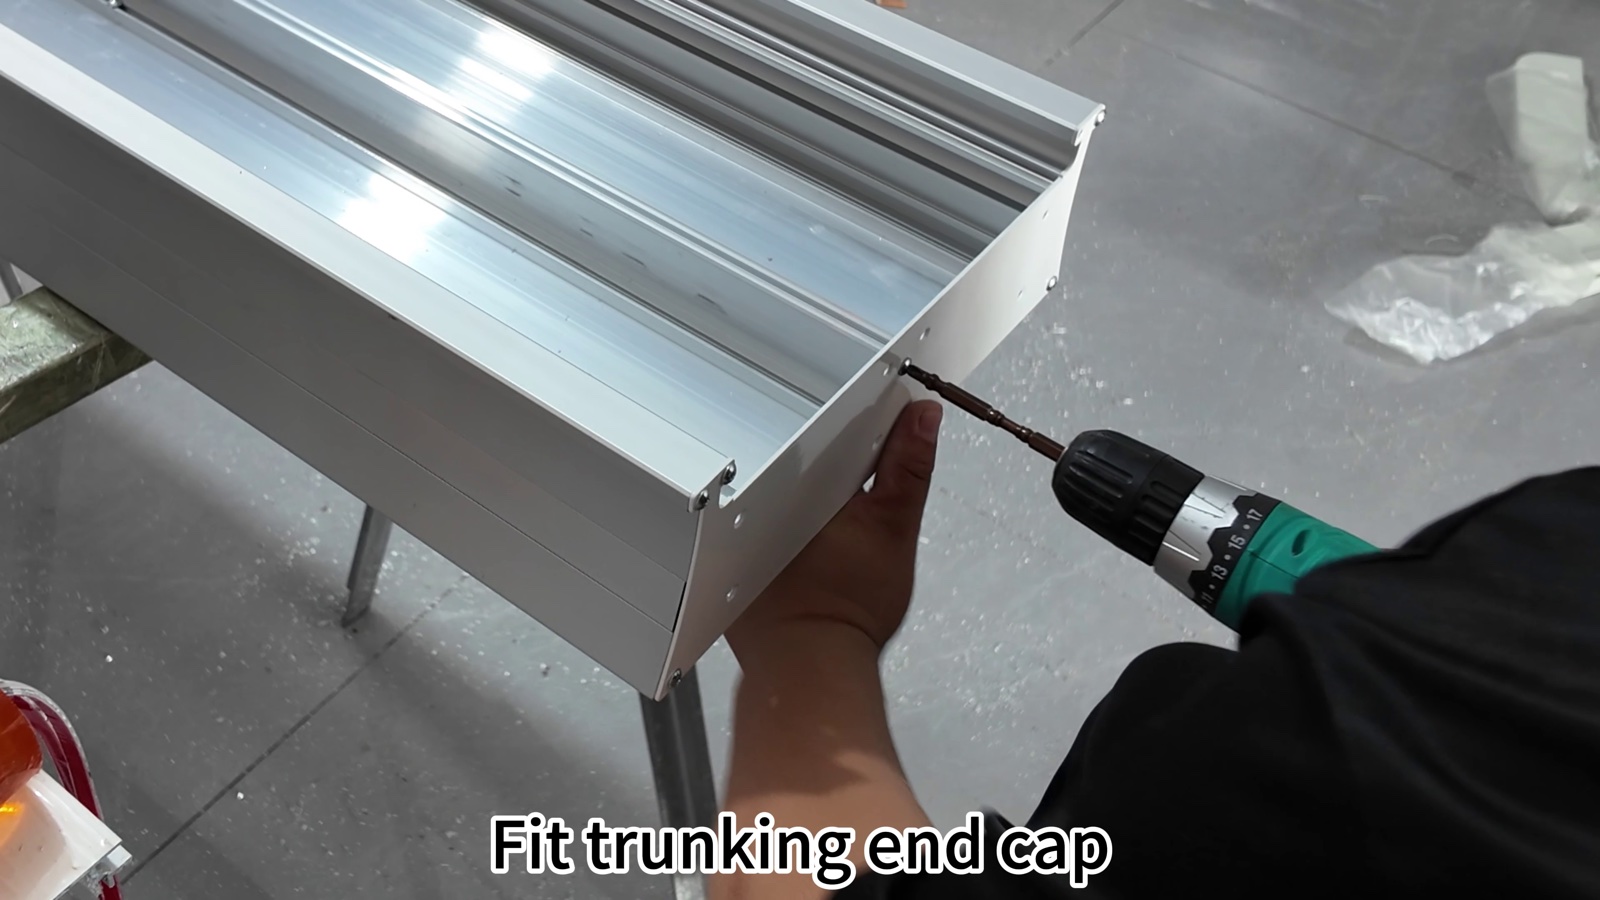
The aluminium trunking forms the body of the unit. The end cap closes the housing at the end of the profile before the internal parts are fitted.
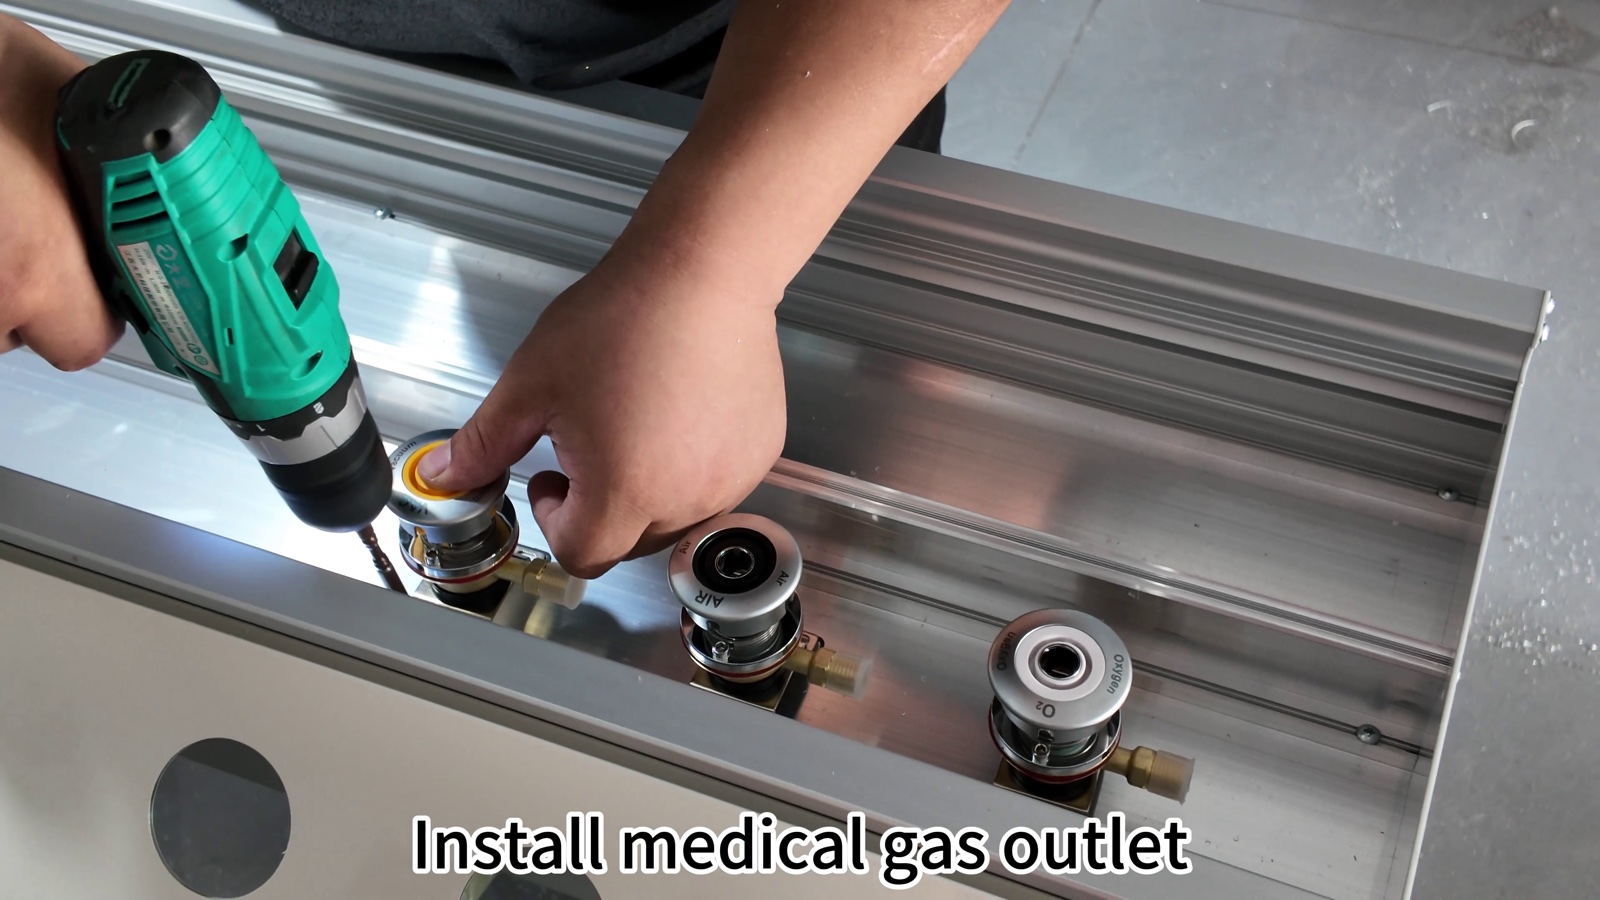
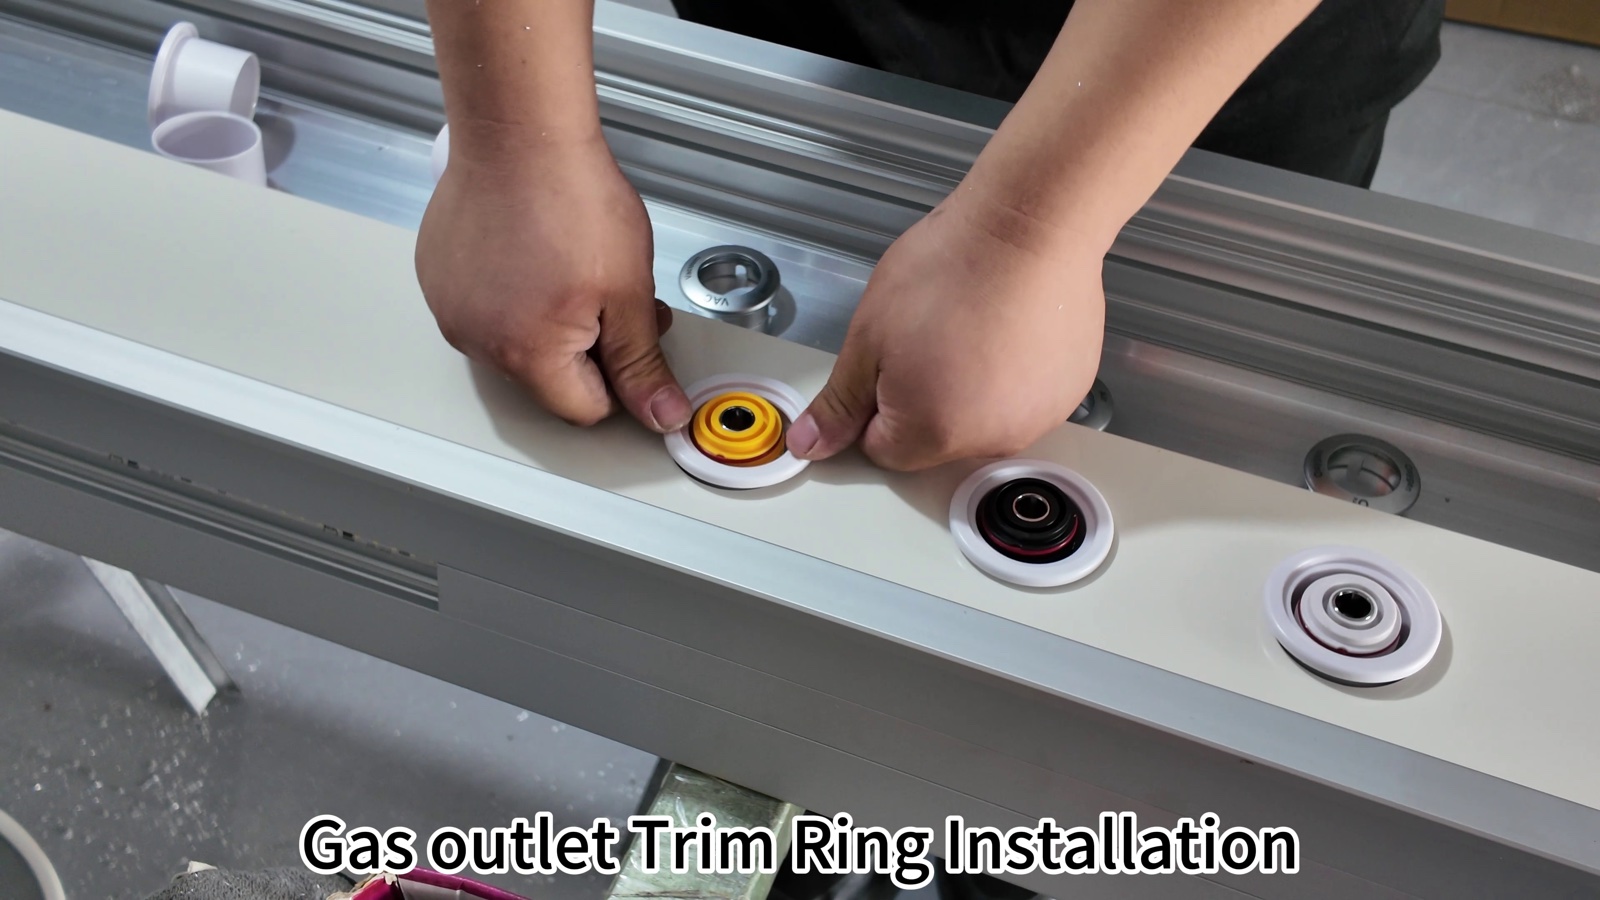
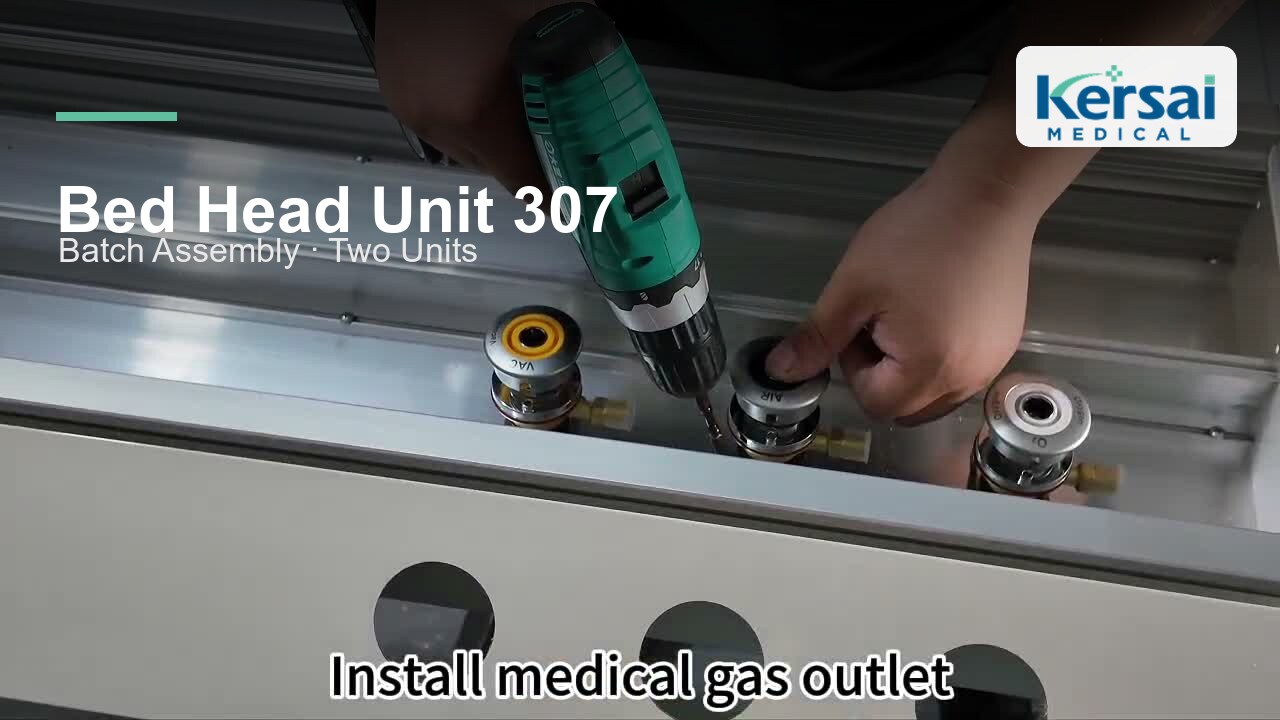
The medical gas outlets are fitted into the outlet band and secured from the rear, one by one along the unit. Each outlet is then finished with its trim ring on the face of the panel.
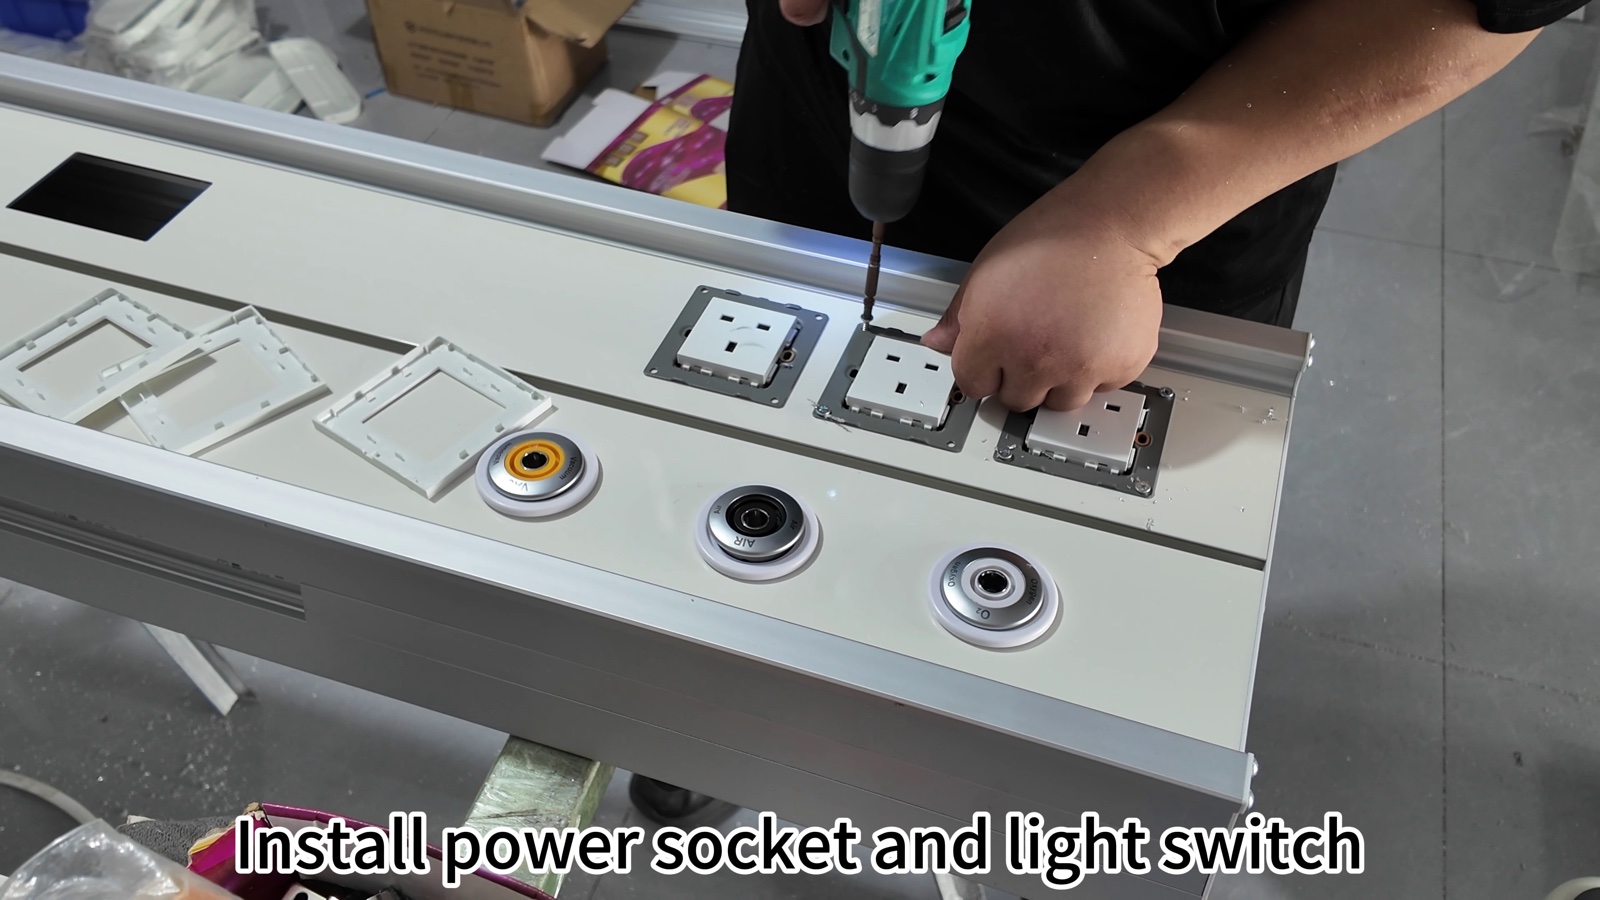
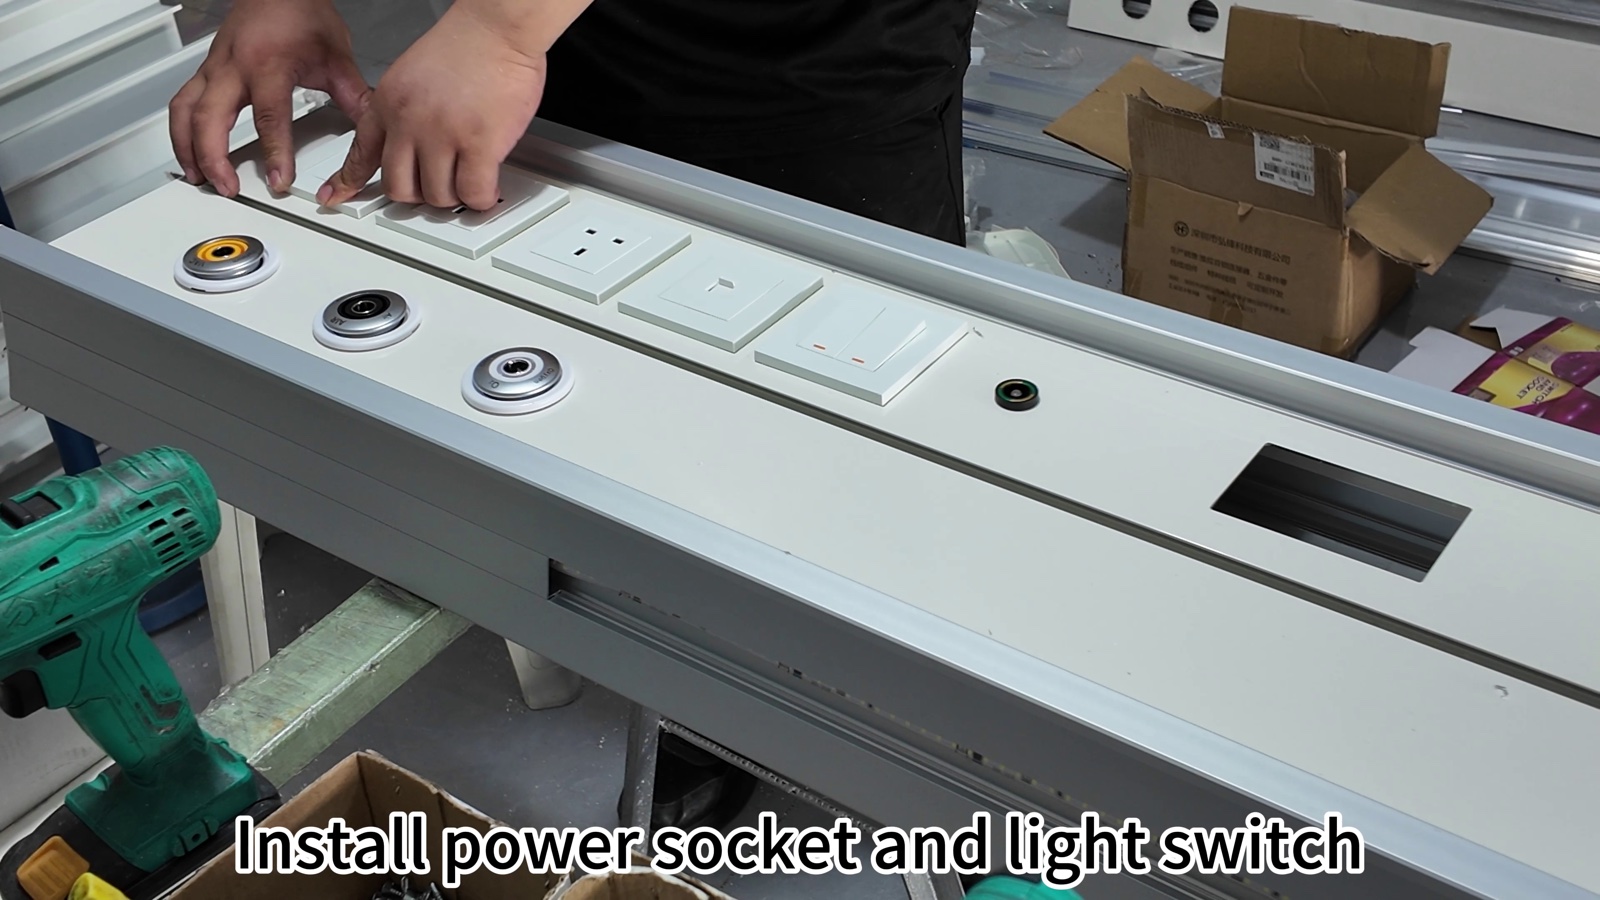
The power socket modules and the light switch are fitted into the lower band of the panel, set into the cut-outs of the housing and secured in place.
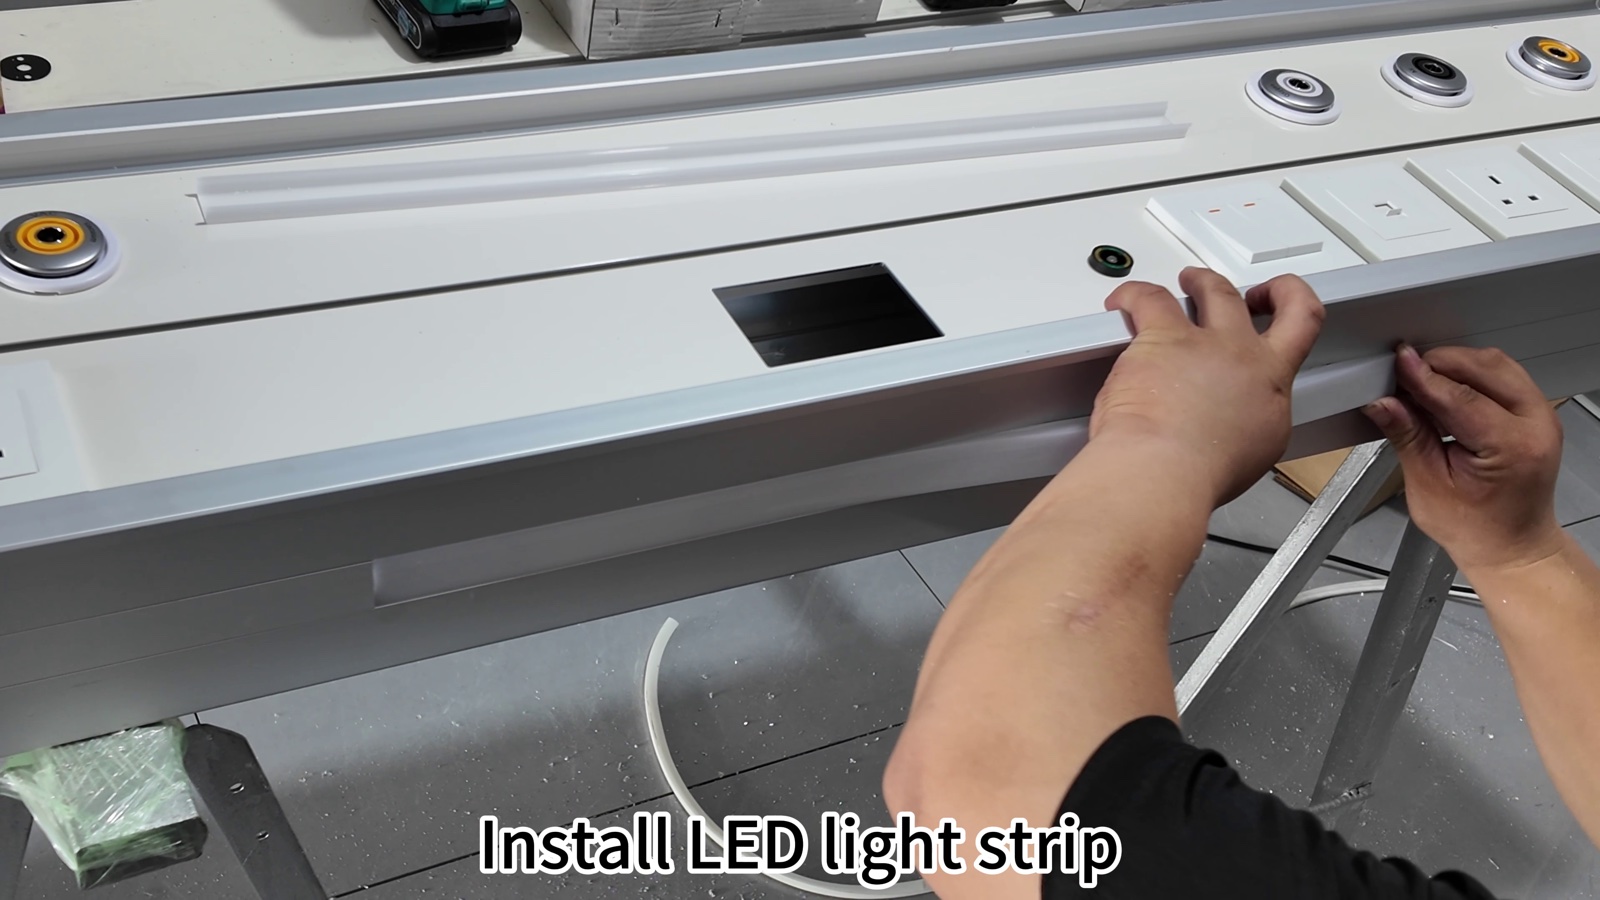
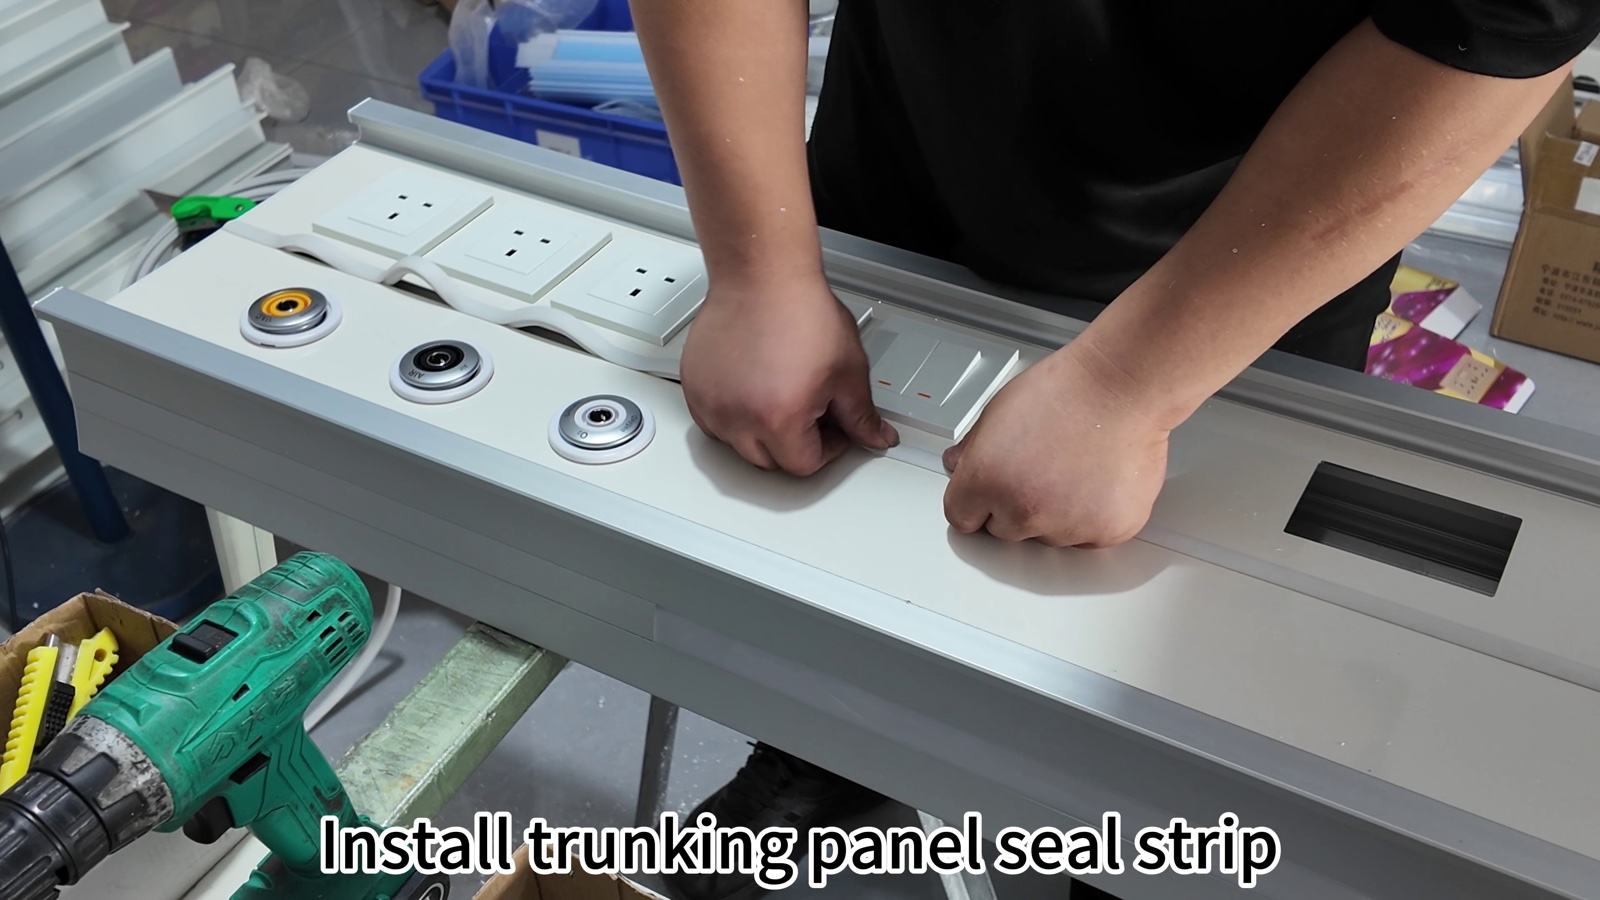
The LED light strip is laid into the lighting channel of the housing, and the seal strip is pressed along the trunking panel to close the profile.
At the end of the batch the panels are complete on the bench, ready for the next stage of production.
Product details: View the Bed Head Unit 307 specifications and product information.
Expand the gallery to browse all 8 photographs of this batch. Select a photograph to open the larger image.
The workshop video for this batch follows the same steps, from the trunking and gas outlets to the socket row, the LED light strip and the completed panels. Select the image below to play it.
If the player does not open, watch the video on YouTube.
INQUIRE IMMEDIATELY

We are a solutions-driven medical technology company committed to delivering reliable Medical Gas Pipeline System components, supporting healthcare infrastructure, and creating long-term value for global medical projects.
CONTACT US
Room 1401, 14th Floor, Unit 3, No. 467 Changjiang Middle Road, Huangdao, Qingdao,China
MENU
SUBSCRIBE TO OUR NEWSLETTER
If you are interested in our products, please subscribe to our email
©2026 QINGDAO KERSAI MEDICAL DEVICES CO.,LTD. ALL RIGHTS RESERVED. POWERED BY HICHENG


